Performance: 5/3/1 “1 Week”
75%x5, 85%x3, 95%x1+
Fitness: 2×10
Linear Progression
Post loads to comments.
LBBSQ e6/6
____________
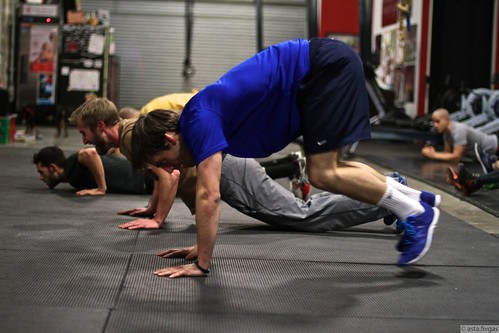
5 Rounds NFT of:
15 Unbroken Wall Ball 20/10, 14/9
15 Unbroken Box Jumps 24/20
Work on how efficiently you can cycle these two movements for. Plan on them coming up in the Open.
 Burpee cascade
Happy Birthday to Dave E and Shawna S!!
TODAY is the March Meat+Fish CSA Pickup!
Curious about meditation and want to incorporate it into your life?
Vajradhara Meditation Center in Prospect Heights will be conducting a special meditation workshop upstairs at CFSBK on Sunday, March 23 from 2-3:30pm. The class will include teachings, a guided meditations and a Q&A session. Taught by a qualified Western teacher, the meditation class will be easy to understand and emphasize how to meditate and practice in our NY urban environment.
Teachings will discuss both mindfulness meditation (becoming aware of what is already true moment by moment and developing a more balanced understanding of self) and contemplative meditation (an investigative style of meditation where the goal is to arrive at a wisdom conclusion and then meditate on that conclusion in order to transform the mind at a deep level).
Suitable for both beginners and more advanced meditation practitioners. No need to wear anything special, or bring anything…just dress comfortably.
This is a free event, to register, please RSVP in the comments section so we know how many to plan for. UPDATE: we’re at capacity, but do still comment (with your full name) if you are interested in joining the workshop and you’ll be contacted if there is space!
__________________
Reaching My Autistic Son Through Disney NYT


