Fitness: Hang Power Snatch 1RM
Pressing out is a no rep. Catch lower as needed.
Performance: 1RM Hang Snatch
_______________________
Back Squat
Fitness: 3×5 Across
add 2.5-5lbs from last week’s weight.
Performance: 2×5, then 1 x max reps <10.
add 2.5-5lbs from last week’s weight.
Post loads to comments.
BSQ/Sn e6/6
_______________________
5 Rounds NFT of:
10 Push-Ups
15 Sit-Ups
20 Split Jumps or Lunges
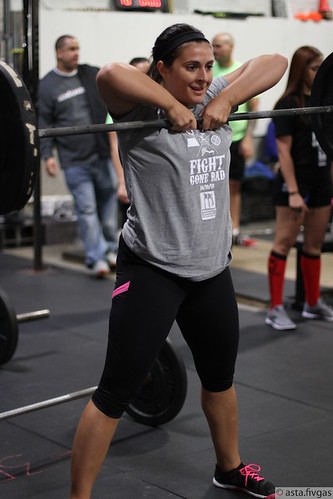 Elisa’s SDHPs at Fight Gone Bad 2013
- Good luck to all the folks doing the rope climbing clinic today!
- If you didn’t read yesterday’s blog post about membership policies, please check it out.
___________________
Stop Juicing Slate
Jean-Claude Van Damme’s Epic Split for Volvo Is Insane Mashable
Totally Irresponsible Parents Remember To Drop Son Off At Football